I bought it in early 2010 described as a fixer-upper, with no photos, and a low price. I was egged on by those more knowledgeable than I, and I’m not one to turn down a challenge.
Plus, it was my birthday.
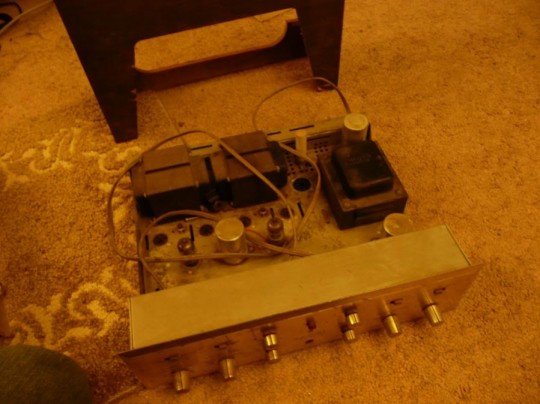
The seller sent me two iPhone photos of a dirty, tubeless Scott 222C and I sent him my money. Here’s what found its way to me, in a padded box, suspended in a two-cubic-foot box:
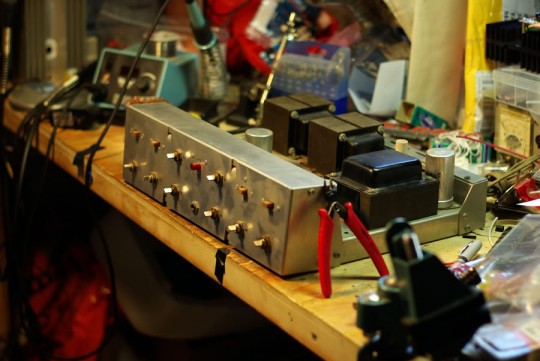
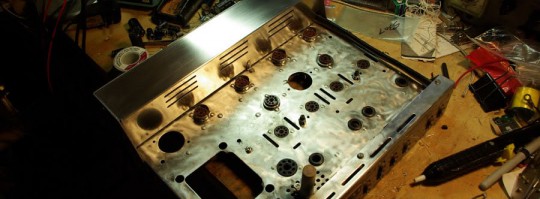
Looking it over, the faceplate was dusty and dirty, the chassis was pitted, the transformers were rusty, the controls were stiff, but it was straight, and it came with a wood case. It was exactly what I wanted, and more than I could have imagined.
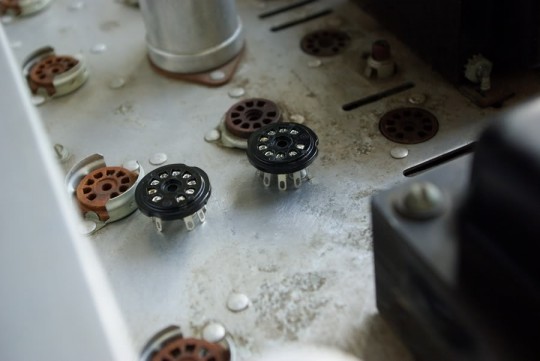
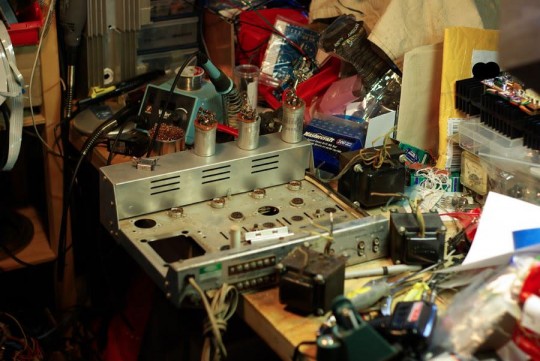
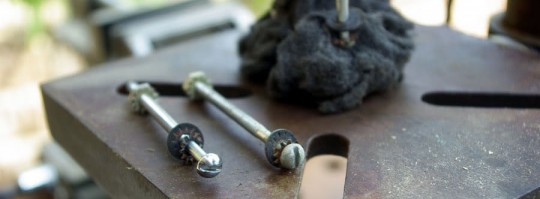
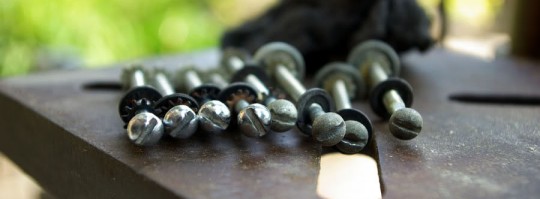
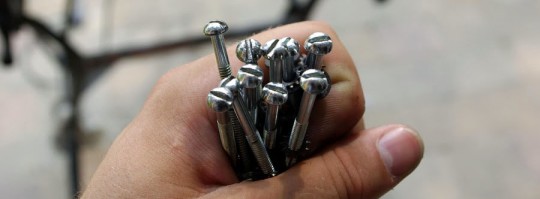
First things first! I had some 9-pin sockets that I bought at the surplus-price of 20/$1; I wanted to compare if they would work in the event that I needed to replace any of the stock sockets (spoiler: I didn’t, but here’s a pretty photo)
You can see the pitting in the aluminum as well as some green buildup on the transformer screws and a white buildup on the transformer laminations. I didn’t get any of the four tube shields that the preamplifier section came with when it was originally sold.
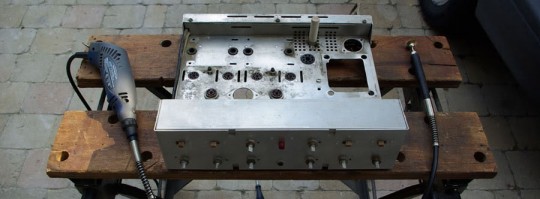
Next step? I removed the faceplate and gave it a gentle polish with a Magic Eraser:
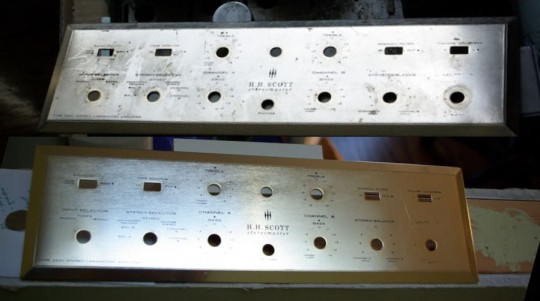
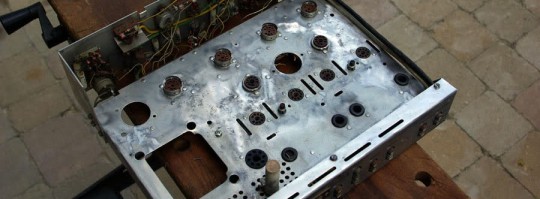
Turned out nicely! There’s some deeper scratches here and there–primarily around headphone jack–but I’m happy with it! Next step was to clean up the chassis, and to make it easier, everything had to be stripped from the top.
Ultimately the pitting wouldn’t allow me to get a mirror finish, so I decided to give the main chassis a swirl finish. I got out my rotary tool and a Workmate and set-out to clean it up.
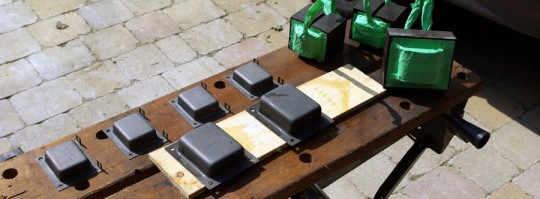
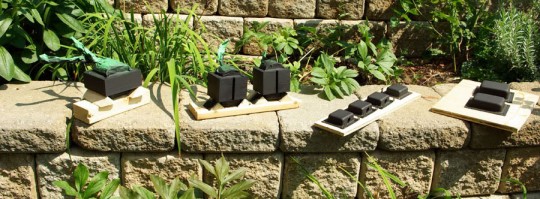
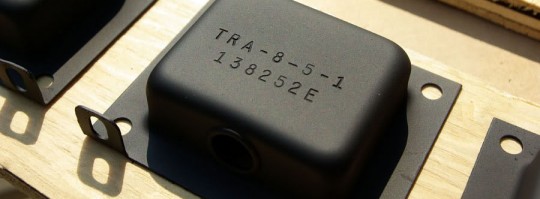
With the chassis taken care of, I turned my eye to the transformers. First I pulled the end bells off, stripped everything down, painted with a high-heat enamel, cleaned the screws up, and reassembled them:

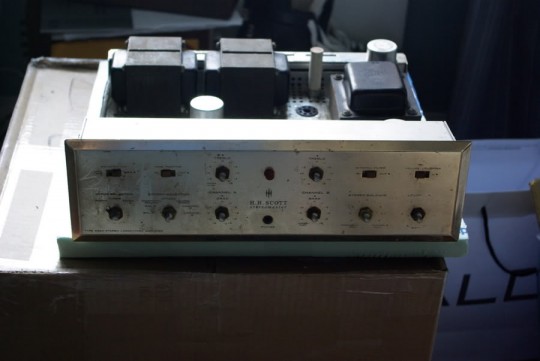
I did a test-fit to see how everything looked:
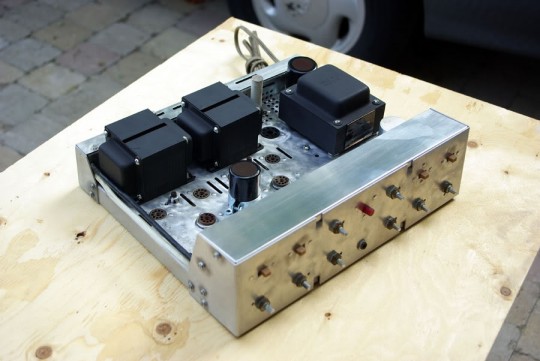
The keen observer will notice that there are two new capacitors mounted up top. I had to drill + rivet the clamps for the new caps before I put the power transformer back in place and I actually started working on the electronics before I cleaned up the transformers, but I’ll touch on that in my next post.
The physical appearance is done and that’s all for now!
P.
2 Comments
Pingback: pperivolaris » The Scott 222C Restoration, Part 2
Pingback: pperivolarisThe Scott 222C Restoration, Part 3 - pperivolaris